- Help Center
- Feature Guides
- Restaurant Tags
-
Eat App Overview
-
Getting Started
-
Feature Guides
- Views Management
- Multi-Restaurant Support
- Managing reservations
- Waitlist
- Widget
- Guest Messaging
- Restaurant Tags
- Users
- Server/Waiter Management
- Guest Database
- Payments
- Restaurant Reports
- Guest Reviews
- Restaurant Automation
- Offers/Discounts
- Layout
- Restaurant Billing
- Printing
- Customer Support
- WhatsApp Messaging
-
Integrations
-
FAQs
-
Troubleshooting
-
Release Notes
-
Partnerships
-
Documentation
Restaurant tags - Adding categories

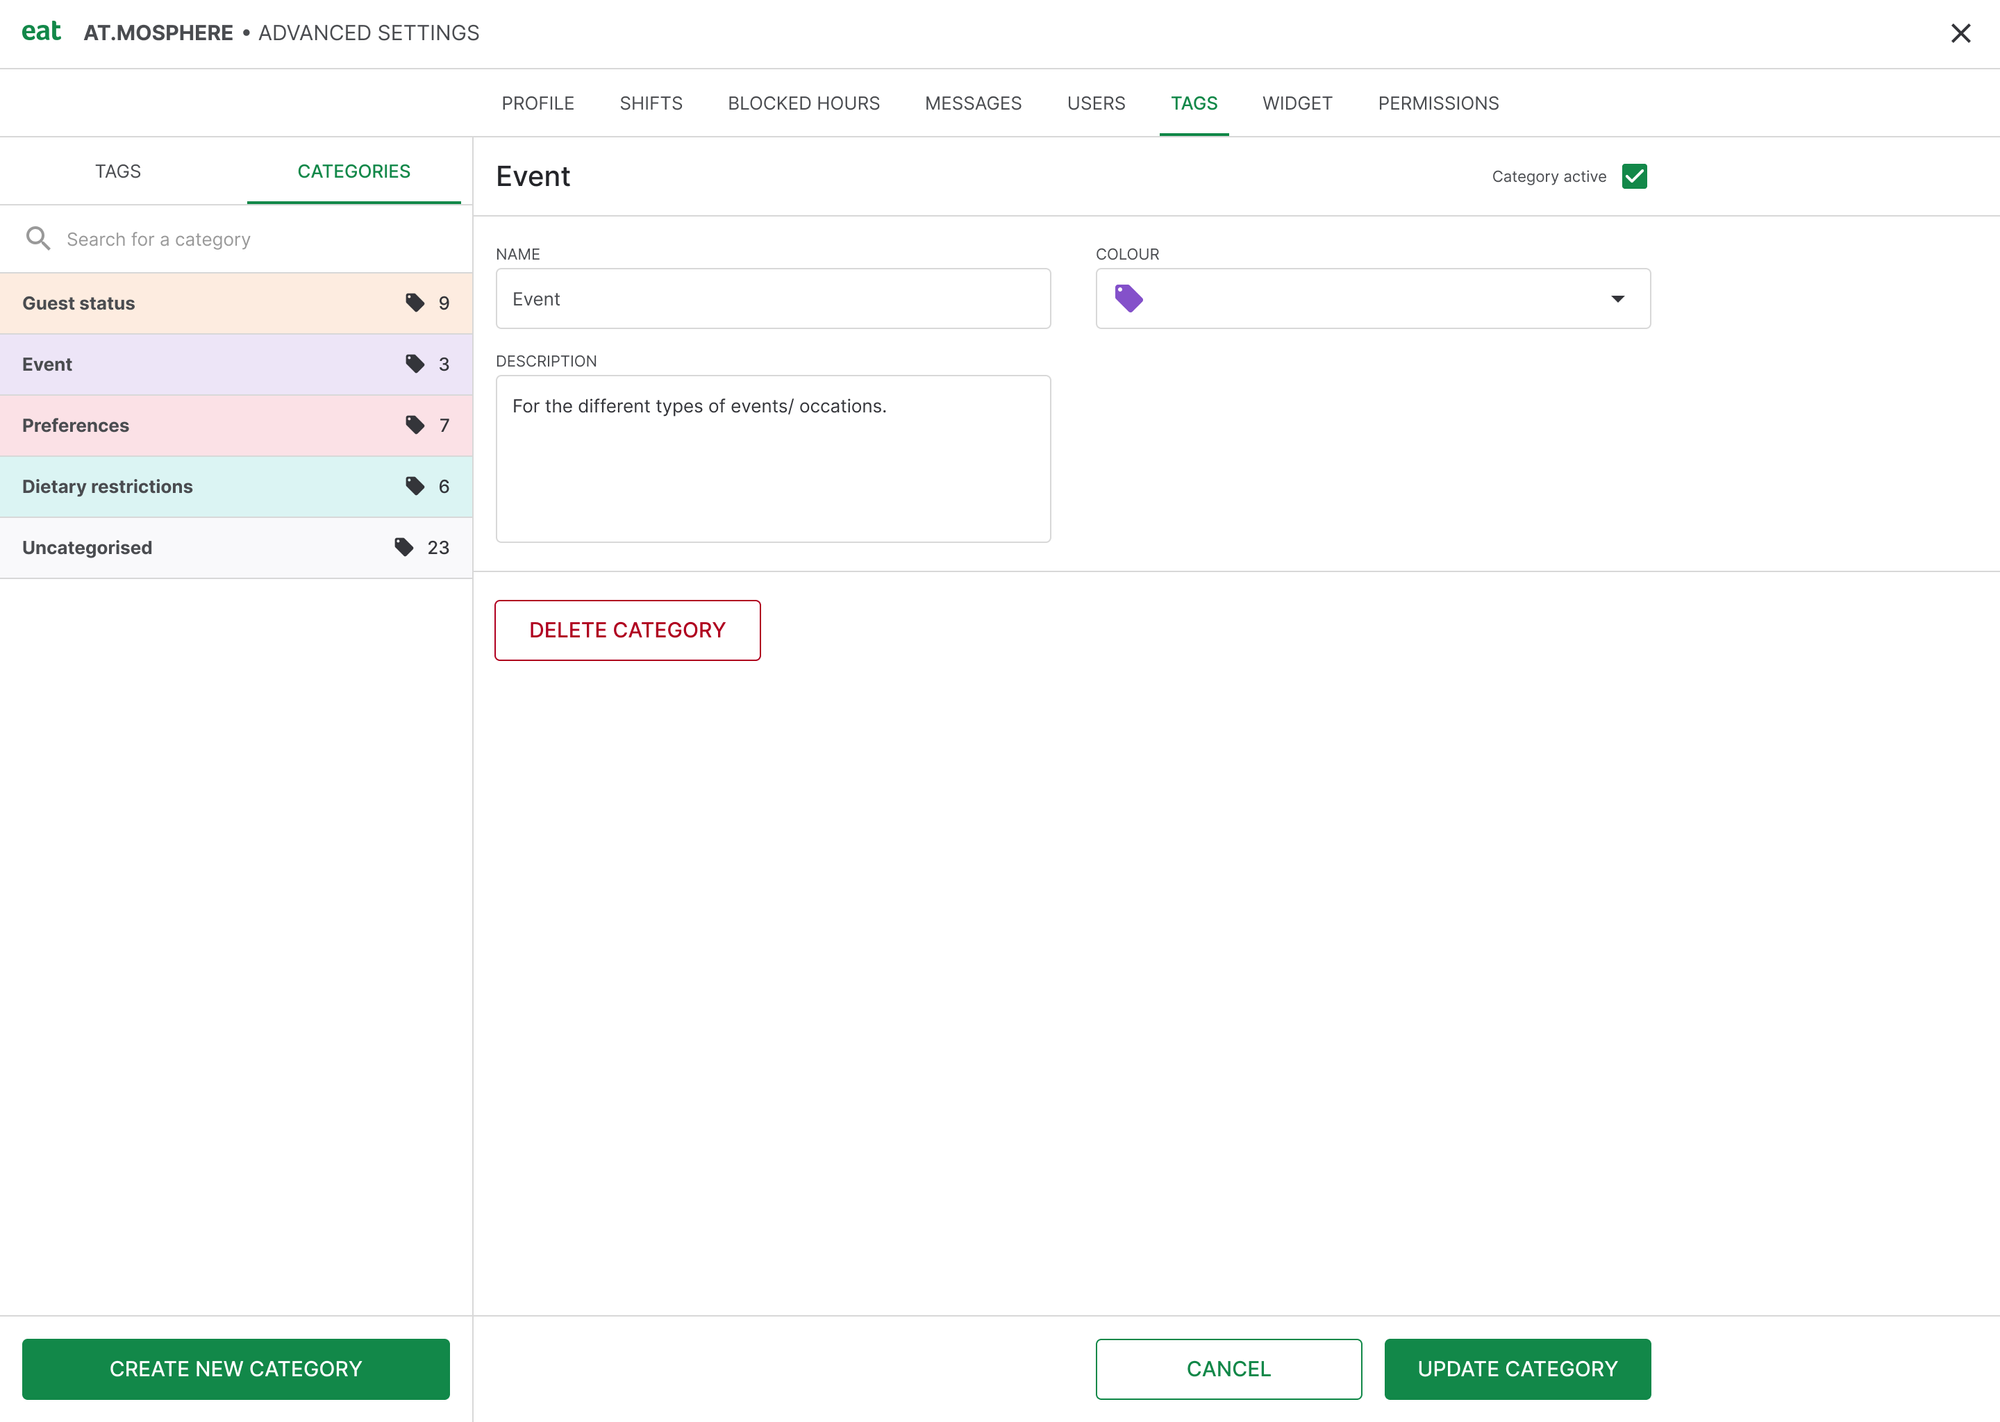
Adding categories can help you organize and manage your tags in a way that makes most sense to your restaurant. Adding in new categories is very similar to adding a new tag and can be achieved by switching over the the categories tab from within the tag settings page.
From here, click "Create new category" on the bottom left hand side. Then give this category a name, for example "Special Requests" or "Guest Preference".
Select a color for this tag and give it a brief description.
Make sure the "Category active" toggle is checked for all categories you want to be visible from within Eat App.
