How can I start taking payments for Events, Seating options and packages at my restaurant?
Before beginning this tutorial, please make sure you have integrated with one of our supported payment providers which includes Stripe, Adyen, Freedompay, Telr, Network International, Checkout, JCC payments, Paystack & more.
You can connect your payment gateway in the Integrations -> Services section on the sidebar on your app.eatapp.co login.
A. Create a payment rule
1. To set up a payment rule:
- go to Table Manager and
- Select the setup button on the left hand side menu
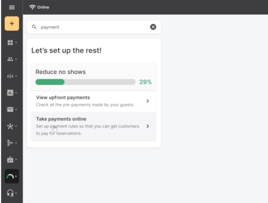
- Search for 'payment'
- Select 'take payments online'
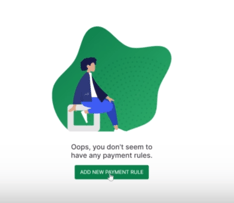
2. Click on Add New Payment Rule at the bottom left corner of the screen or the middle of the screen if you don't have any payment rules just yet
3. Fill out the required details and click on Create payment rule

B. Attach the payment rule to a shift
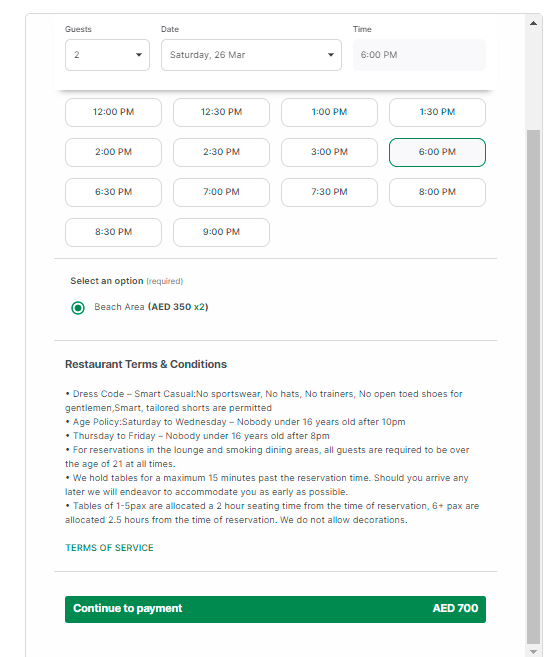
1. Go to app.eatapp.co, click the Availability section on the side menu then select Events, Packages and Seating Options

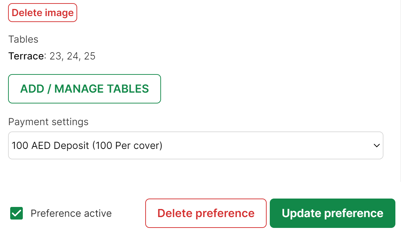
2. Click on New Preference

3. You can now create a new preference by entering the details required. Please make sure to ALWAYS attach the payment rule to the preference as highlighted below.
Make sure you have at least one active shift at the time you set the preference time and date availability.
4. Click on Create Preference to save the changes. Once created, the new preference will show up on the list on the right side of the screen it will show the preference as active.

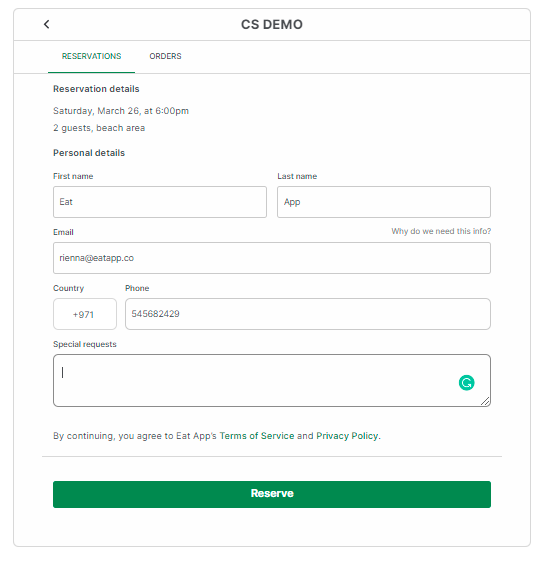
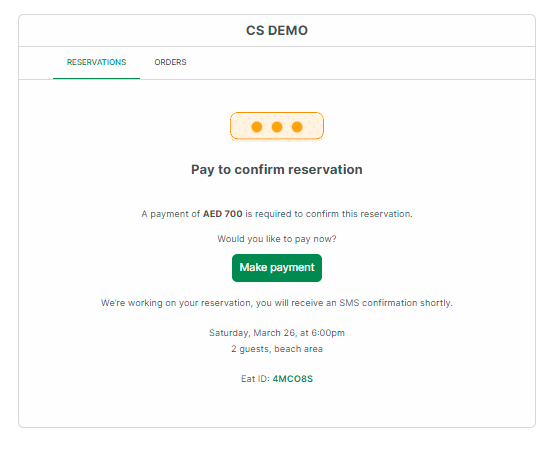
5. Perform a test booking to confirm that everything is working