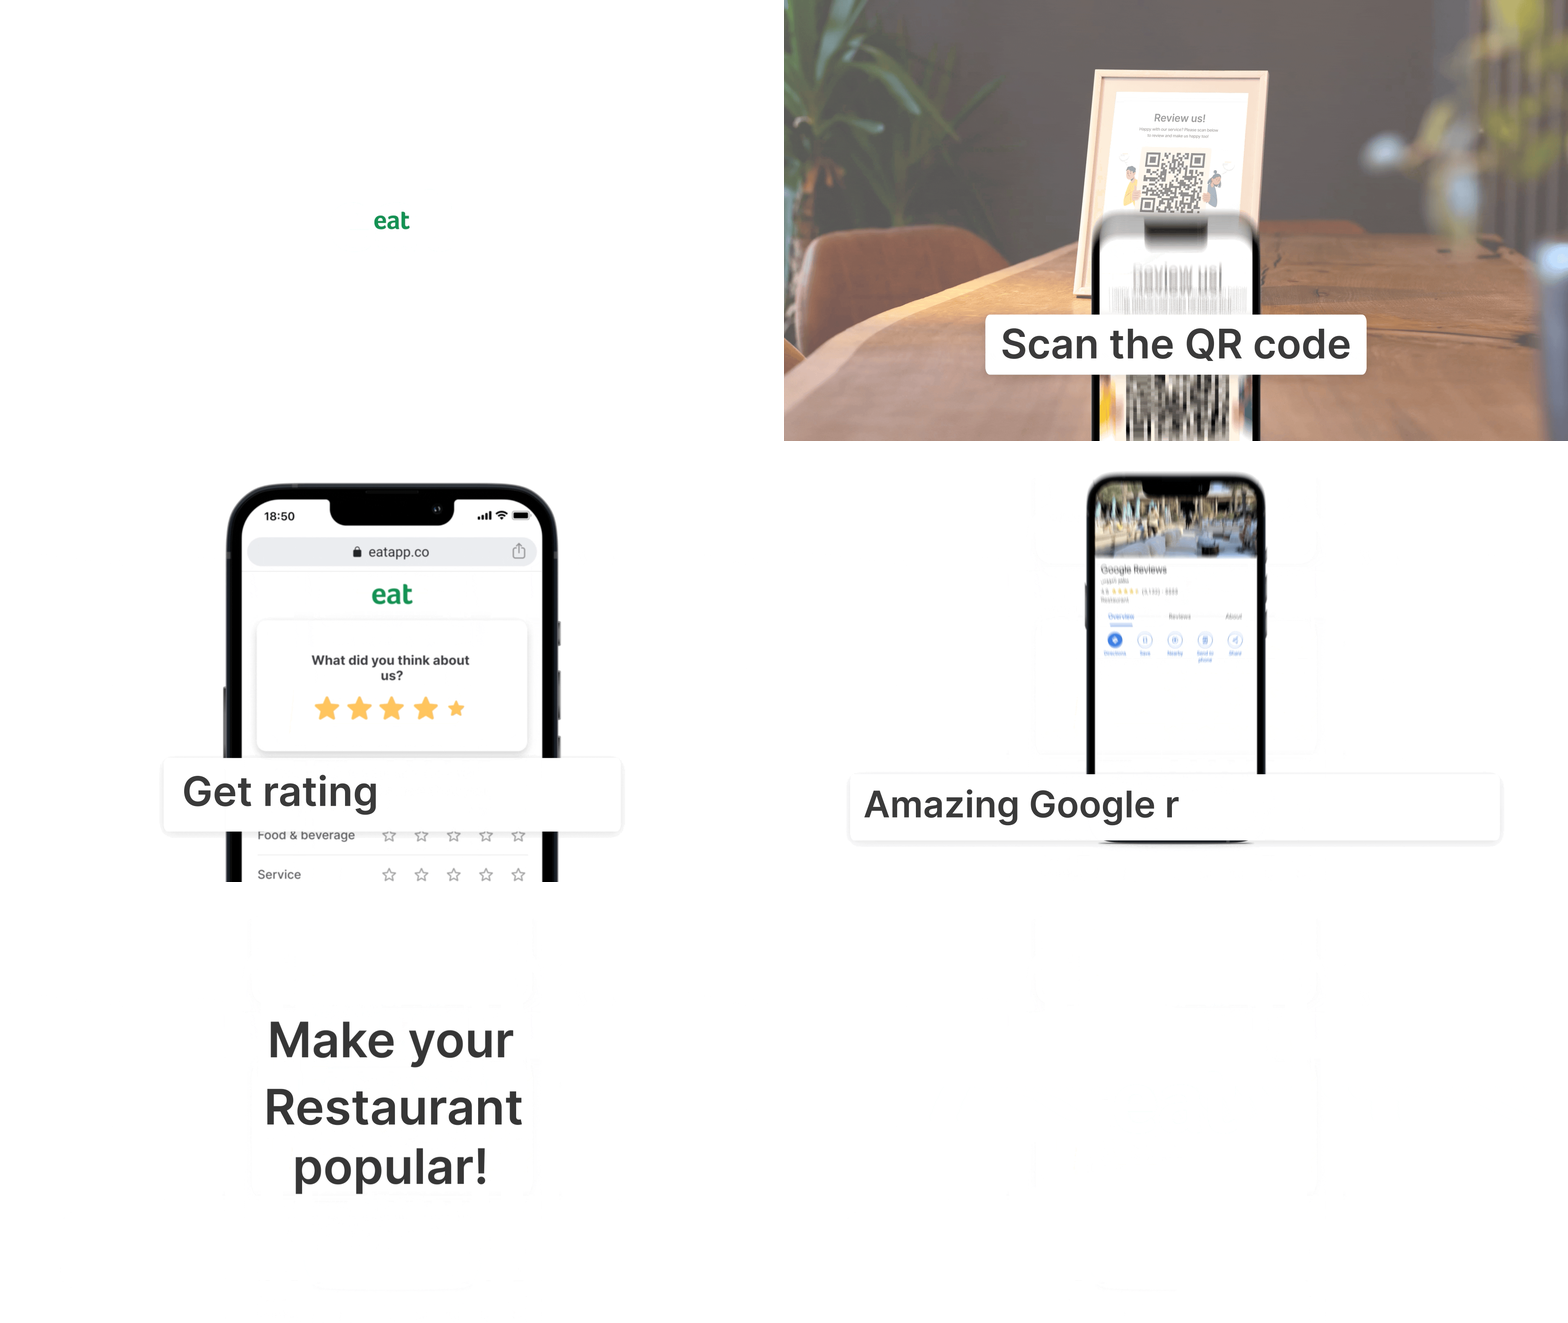
Get Feedback From Your Customers
Activating guest reviews at your restaurant
In order to boost your online reputation and attract more customers, Eat App offers a powerful tool that allows you to collect reviews automatically.
With this feature, you can streamline the review collection process, direct guests to review your restaurant on popular platforms, and ensure that you don't miss any feedback, good or bad.

To get started, we’ve put together a step-by-step guide to help you activate and utilize this feature effectively.
Activating the Guest Reviews feature:
To begin using the Guest Reviews feature in Eat App, follow these steps:
- Log in to your Eat App Table Manager
- From the left dashboard, select Guest.
- Then navigate Reviews, then choose Review Configurations.
- Toggle the feature REVIEWS ACTIVE and click UPDATE to activate it.

Once activated, proceed to set your preferences and customize the feature according to your needs.
Direct happy customers to a custom link:
To direct guests to review your restaurant on popular platforms such as Google, follow these steps:
1. Visit your Table Manager and go to the Guest > Review> Review Configurations.
2. Toggle "Direct happy customers to a custom link" to ON.
3. Provide the URL of the review page for the desired platform (e.g., Google).
- To obtain the URL for Google reviews, go to your Google Business Listing, write a review, copy the URL, and paste it here.
6. Click on "Update" to save the changes.
Tip: We recommend using the custom link to direct your customers to upcoming events to encourage repeat visits.

For a quick demo, send an email to info@eatapp.co with the subject line "Direct happy guests to a custom link".
Collecting reviews at the table:
To collect reviews at the table using the Guest Reviews feature, follow these steps:
1. From Table Manager , go to Guest.
2. Then from Reviews, select Review at Table.
3. Set your QR Code description by entering a concise and engaging text.
4. Download the QR Codes generated by the system.
5. Print the QR Codes on stickers, coasters, or table tents and place them on the respective tables for guests to scan.
Alternatively, you can contact Eat App to obtain branded coasters or printable table tents.
6. Ensure the QR Codes are clearly visible and easily scannable by your guests.
Best practices
Here are the best practices for handling high and low reviews from feedback within Eat App for your restaurant:
High reviews
- Always respond with a personalized thank you. Express gratitude for their visit and positive feedback.
- Share the review with your team to boost morale and recognize staff efforts.
- Ask your guest if they can share their positive review online using the custom Eat App link.
- Encourage the reviewer to return and mention any upcoming events or specials.
- Strive to maintain the quality and service that earned the positive review.
Low reviews
- Respond calmly and professionally, avoiding any defensive or confrontational language.
- Recognize the reviewer’s concerns and apologize for their negative experience.
- Look into the issue to understand what went wrong and how it can be fixed.
- Provide a resolution, such as a discount, free meal, or a personal invitation to return.
- Use the feedback to make necessary improvements to your service or food quality.
- After resolving the issue, follow up with the reviewer to show that you value their feedback and are committed to improvement.
Takeaways
By leveraging Eat App's Guest Reviews feature, you can efficiently collect reviews that are linked to reservations and gather feedback at the table.
Taking advantage of this powerful tool will help improve your online reputation and attract more customers to your establishment.
