Prerequisite
To enable the "Reserve" button on your Facebook and Instagram pages, your page must already be a business page and you must be logged in with the business admin account.
How To Add The 'Reserve' button to your Instagram
We’ve teased Instagram’s hidden booking button long enough. Follow the steps below to add your booking link to your restaurant’s Instagram profile.
- From your mobile phone, open Instagram to your Restaurant profile.
- Tap “Edit Your Profile" at the top.
- Click on "Action Button"
- Choose "Reserve" from the list of options and select your reservation provider from the list (only official Instagram reservation partners, like Eat App, will be available to choose from)

Adding the 'Reserve' button on your Facebook and Instagram pages from the Eat App Admin page
- Log into admin.eatapp.co with your restaurant's username and password
- Click on the "Services" tab once logged in and navigate to the "Instagram" tab
- Click on the "Setup" button, this will open a Facebook login page where you'll need to be logged into your restaurant's Facebook account
- Select ‘Continue’ when prompted to connect Eat App to Facebook
- Ensure that the correct Facebook Page is connected, along with the Instagram Profile, Ad Account and Facebook Pixel, then select ‘Continue’
- Allow the Eat App Integration to manage business extension and select ‘Next
- Your "Reserve" button will now be live on both your Facebook and Instagram profiles and you can manage your booking widget settings directly from Eat App
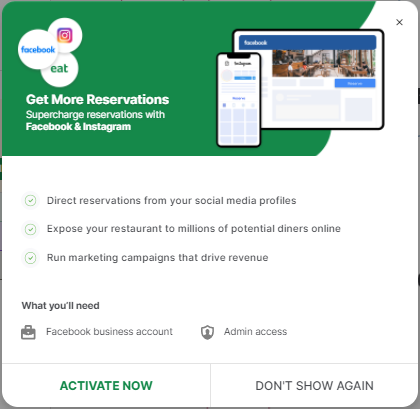
A Facebook/IG activation button is also available and located on the left panel of your table manager.
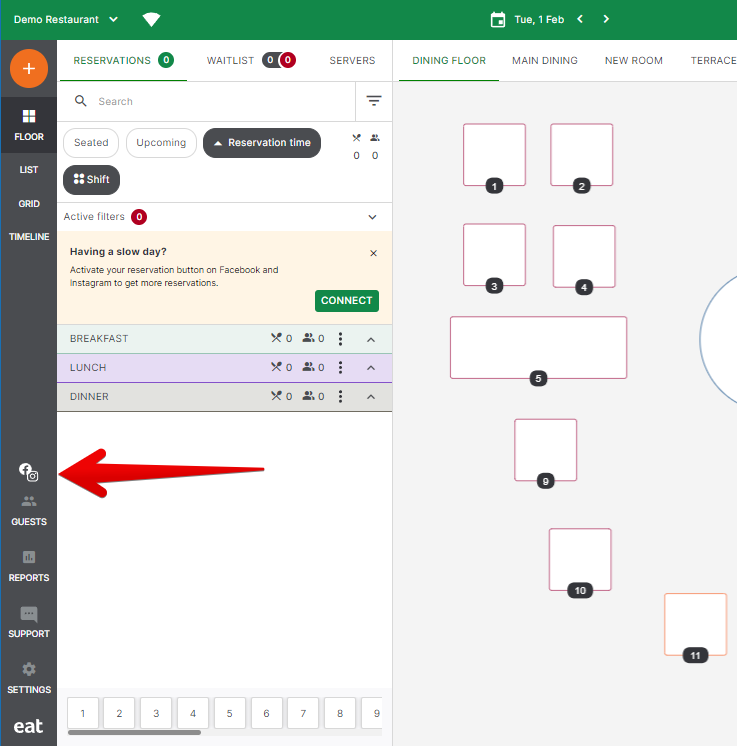
This button brings up a pop up where it routes you to the Instagram & Facebook activation page on the admin once you clicked "Activate Now".
Uninstalling 'Book Now' button on your Facebook page
- Log into admin.eatapp.co with your restaurant's username and password
- Click on the "Services" tab once logged in and click on "Manage Connection", this will open a Facebook login page where you'll need to be logged into your restaurant's Facebook account
- Under Connection Settings, click on the 3 dots and choose "Uninstall". This should remove the book now button from your restaurant's Facebook page.
Analytics
Once your link is installed, Facebook provides analytics that tells you how many people clicked on your booking link.
As a page admin, hover your mouse over the button and select 'Insights' from the list. Facebook will then display recent click information for your booking link.