Contents
- Adding Eat App's booking widget to your website
- Customizing your booking widget
- Editing your restaurant floor plan
- Editing your shift and availability settings
- Activating other booking channels
- Managing reservations on-the-fly
- Messaging your guests
- Uninstall your widget
Adding Eat App's booking widget to your website
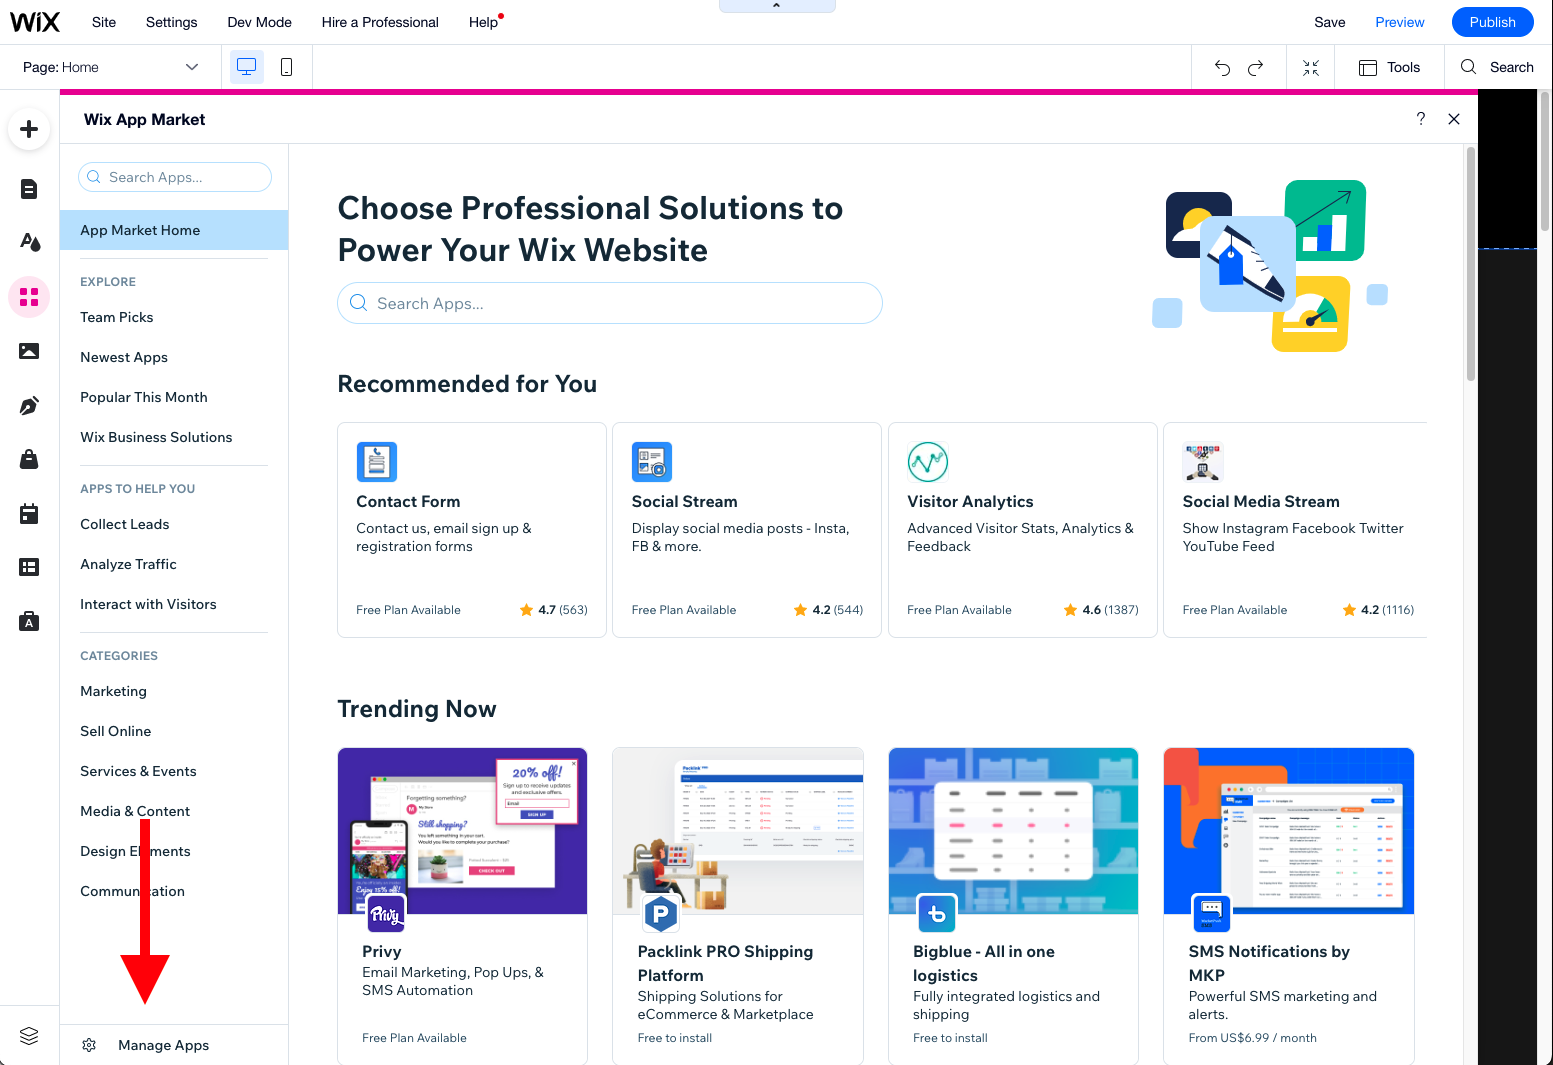
To add Eat App's booking widget to your website, start by navigating to the Wix App Market. From here, head to Eat App's app page by searching "Eat App" in the search bar.
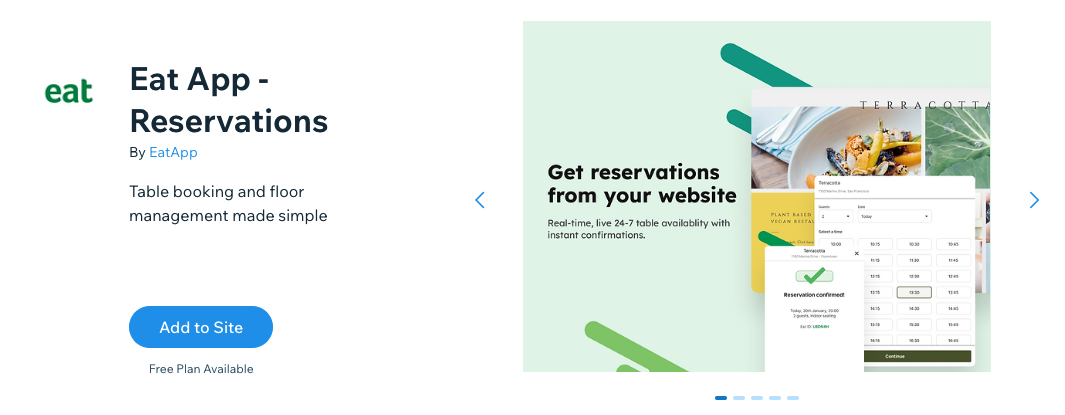
To start the integration process, click the "Add to site" button on the app page. This will open a new tab in your web browser asking for basic permissions from you.
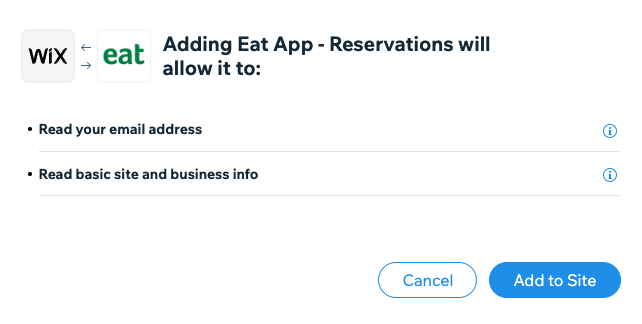
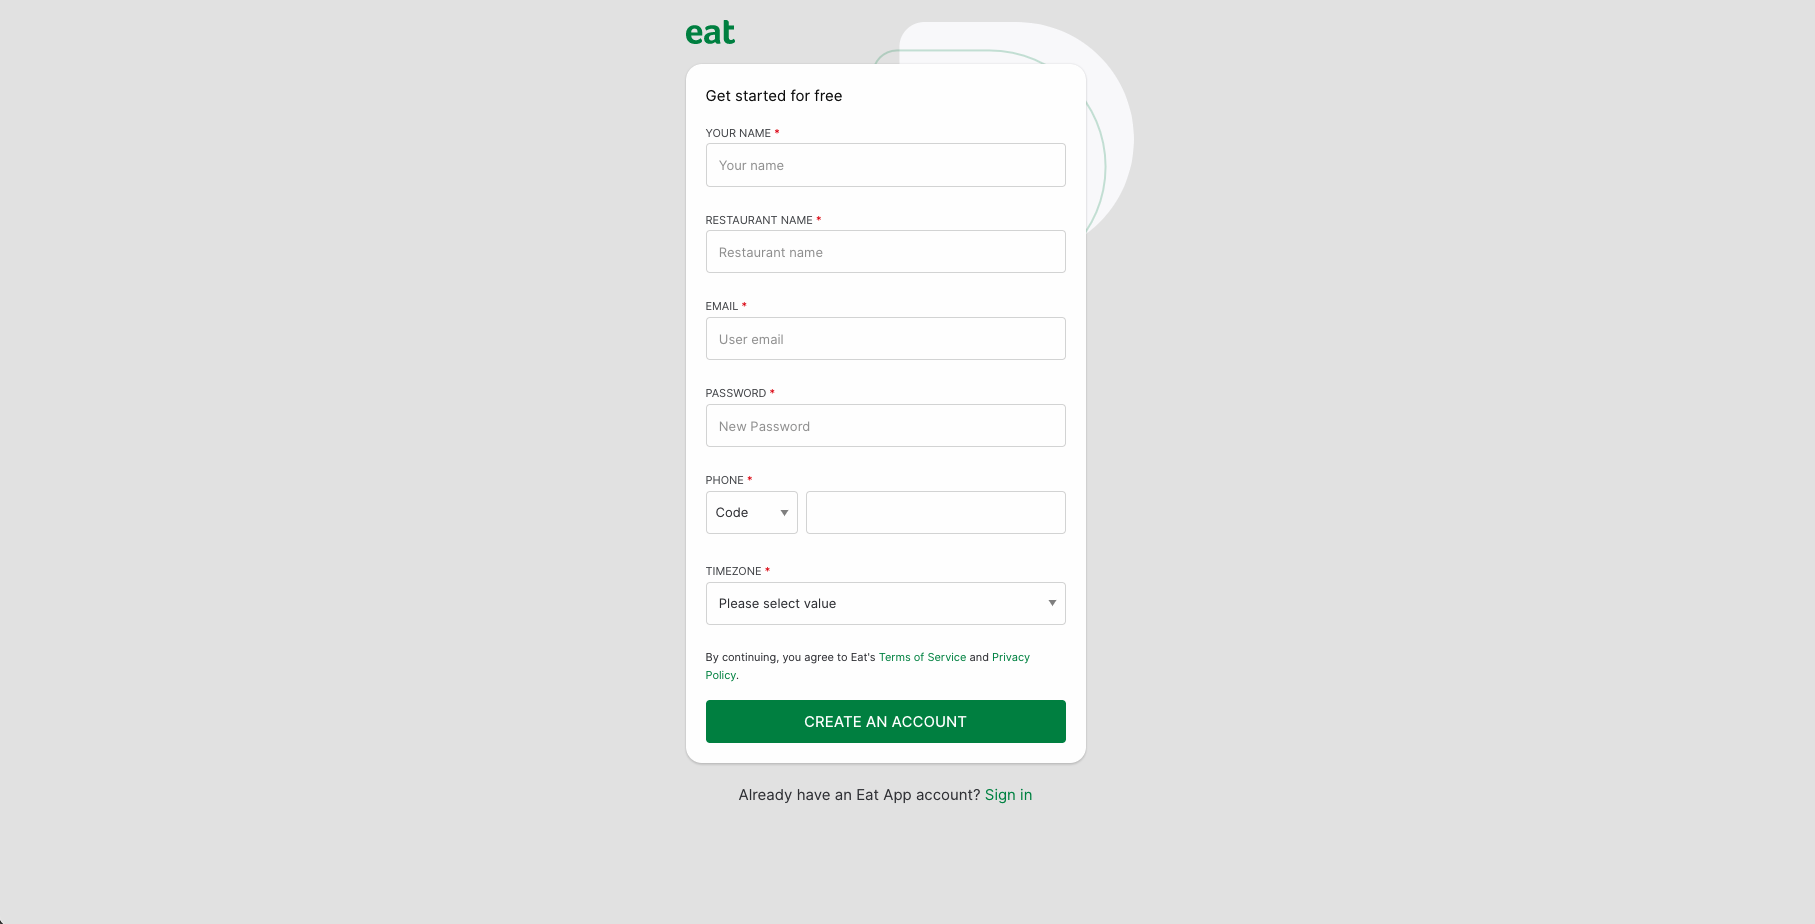
Once you've accepted the terms and click "Add to Site", you will be taken to Eat App's sign up page. From here you can either create a new account directly, or click the "Sign in" button at the bottom to access your existing Eat App restaurant profile.
New Eat App user
Fill out the signup form and click "Create Account" at the bottom.
You will now be redirected into Eat App, from here you will be guided through setting up your restaurant's information to ensure your widget reflects the correct information to your customers.
This setup process will take you through adding in your tables and their respective capacities, setting up your restaurant shifts and finally customizing your widget colors to better suit your restaurant brand.
Don't worry if you accidentally enter any incorrect information or forget to make a certain change, all this information can also be edited later.
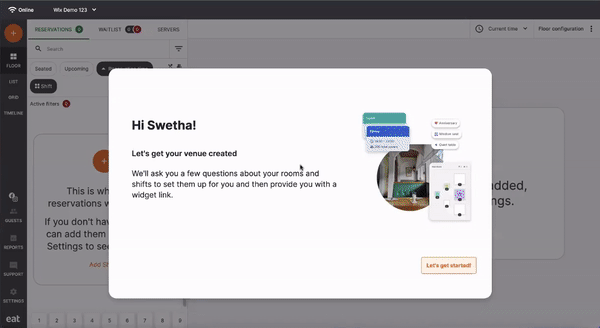
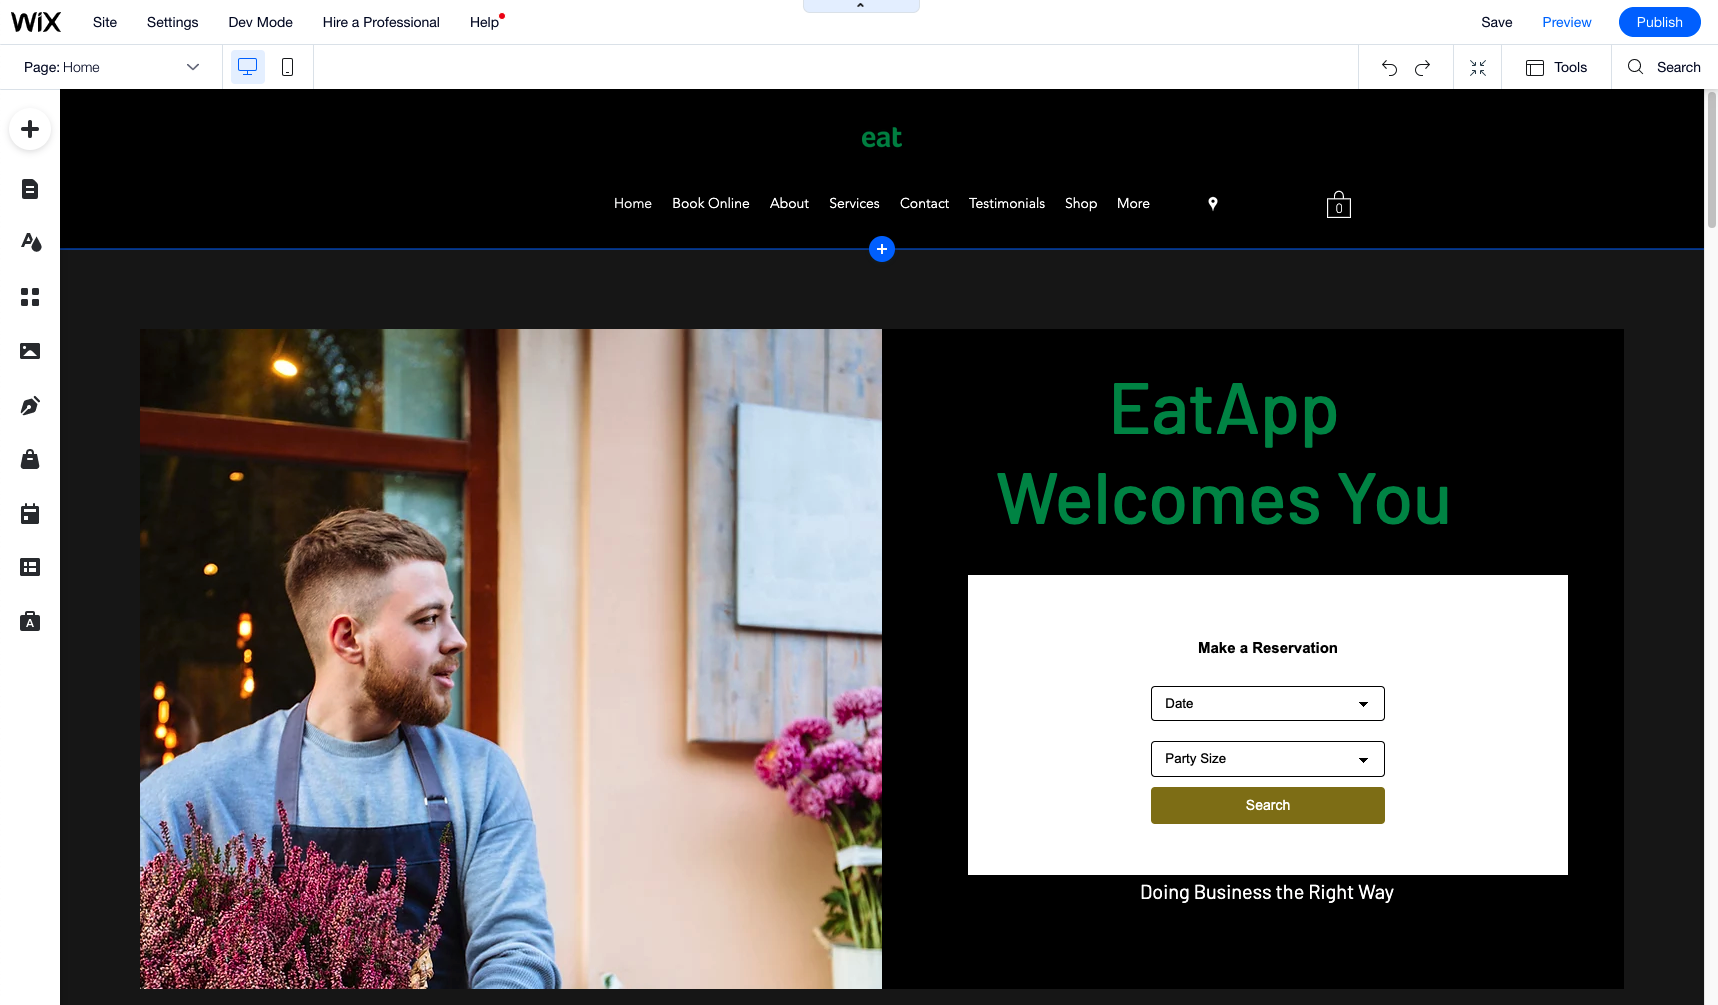
When finished click "Save and continue" to proceed. You will now be redirected back to your Wix website editor where you will see your restaurant booking widget. You can then place the widget wherever you would like on your website.
And that is all there is to it, you are now ready to start accepting reservations directly from your website. To see what your website looks like, click the "Preview" button on the top right corner of the website editor.
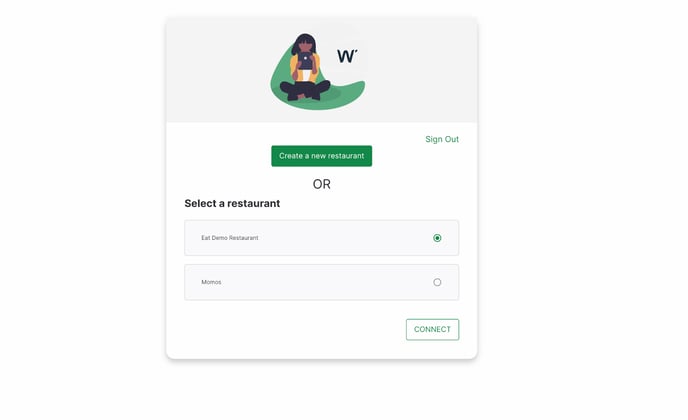
Existing Eat App user
If you are a restaurant already using Eat App, click "Sign In" instead of filling out the sign up form.
If you are managing multiple restaurants with Eat App, you will be asked to select which restaurant you want to integrate with your Wix website.
You will now be redirected back to your Wix website editor where you will see your restaurant booking widget. You can then place the widget wherever you would like on your website.
And that is all there is to it, you are now ready to start accepting reservations directly from your website. To see what your website looks like, click the "Preview" button on the top right corner of the website editor.
How to customize your booking widget
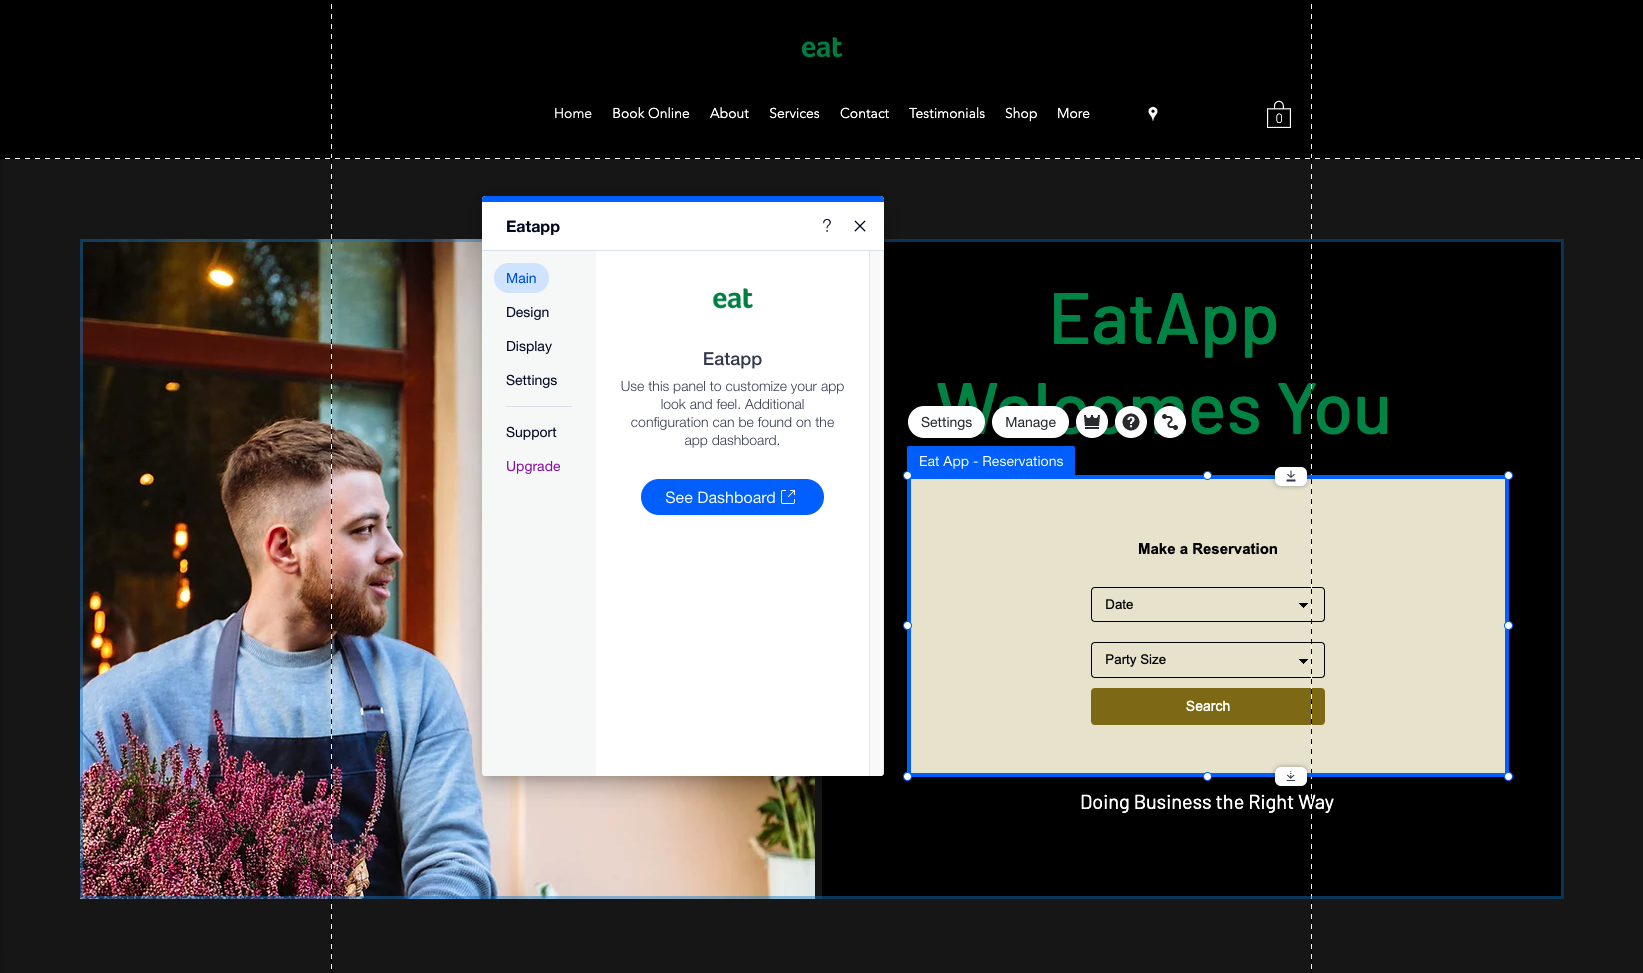
Now that you have your booking widget installed on your restaurant website, you can easily customize what your booking widget looks like. Start by clicking the booking widget module while in edit mode and then click the "Settings" button on the top left corner of your booking widget.

It's here that you will be able to make quick adjustments to your widget color scheme as well as the maximum and minimum party sizes you want displayed on your widget.
-gif.gif)
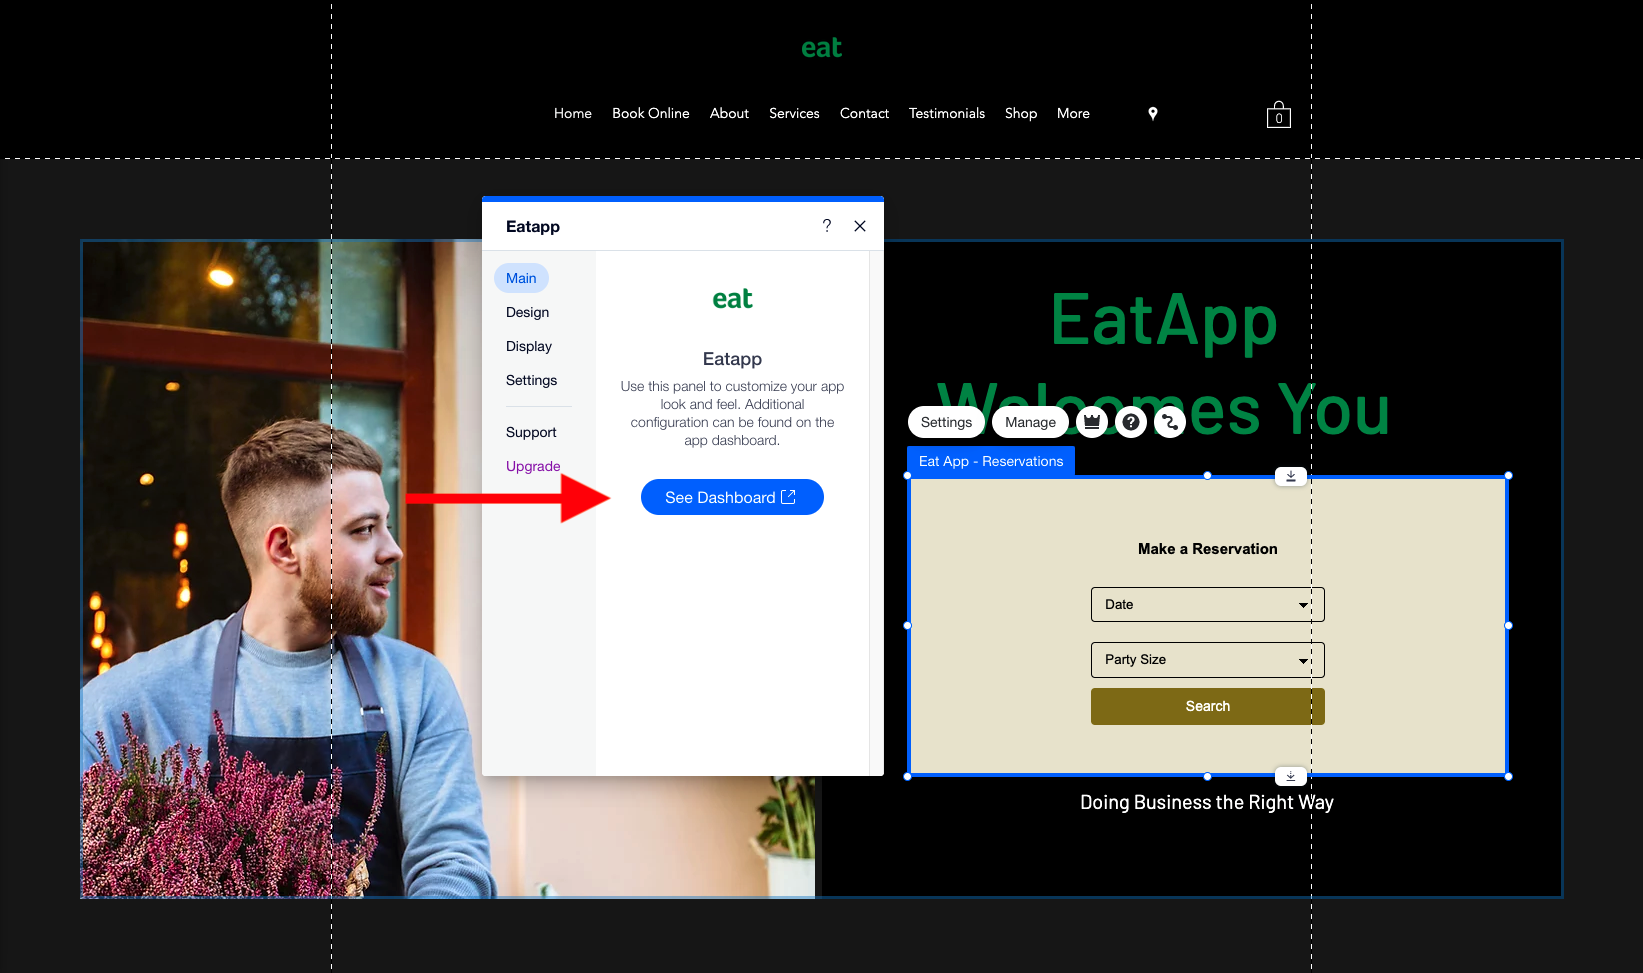
You can also jump into your restaurant within Eat App by clicking "See Dashboard" from the "Main" tab in settings. This will allow you to make further changes to your widget settings.
To customize your booking widget from within Eat App, start by clicking the "Settings" button on the bottom of the left hand sidebar.
Then follow the instructions in the following video to edit your widget settings. This includes adding terms and conditions to your widget, editing the form fields you collect, the appearance of your booking widget and more.
How to edit your restaurant floor plan
Editing your restaurant floor plan is the first step to generating online reservations - this is how you'll show your bookable tables to customers online.
Start by navigating to your Eat App restaurant page by either clicking on the "See dashboard" button from the settings of your widget on your Wix page or by heading straight to app.eatapp.co and signing in with your email and password.

Then follow the instructions in the video below to get your floor plan to match your restaurant's existing layout.
How to edit your shift and availability settings
Your shifts determine what tables your customers can book, when they can book them and how many are available at any given point in time.
Start by navigating to your Eat App restaurant page by either clicking on the "See dashboard" button from the settings of your widget on your Wix page or by heading straight to app.eatapp.co and signing in with your email and password.
Once within Eat App, check out the video below to learn how you can setup and manage your booking widget shifts as well as enabling a waitlist and blocking hours.
How to activate other booking channels for your booking widget
Your new booking widget can be used to drive reservations to your restaurant from more places than just your website. Currently, Eat App provides every restaurant partner access to a rich reservation network that includes Google, Facebook and Instagram at no extra cost.
Start by navigating to your Eat App restaurant page by either clicking on the "See dashboard" button from the settings of your widget on your Wix page or by heading straight to app.eatapp.co and signing in with your email and password.
From here, click the "Settings" button on the bottom of the left hand sidebar.
Scroll down to the "Online Reservations" section and click on either "Connect Facebook & Instagram" or "Take Reservations from Google".
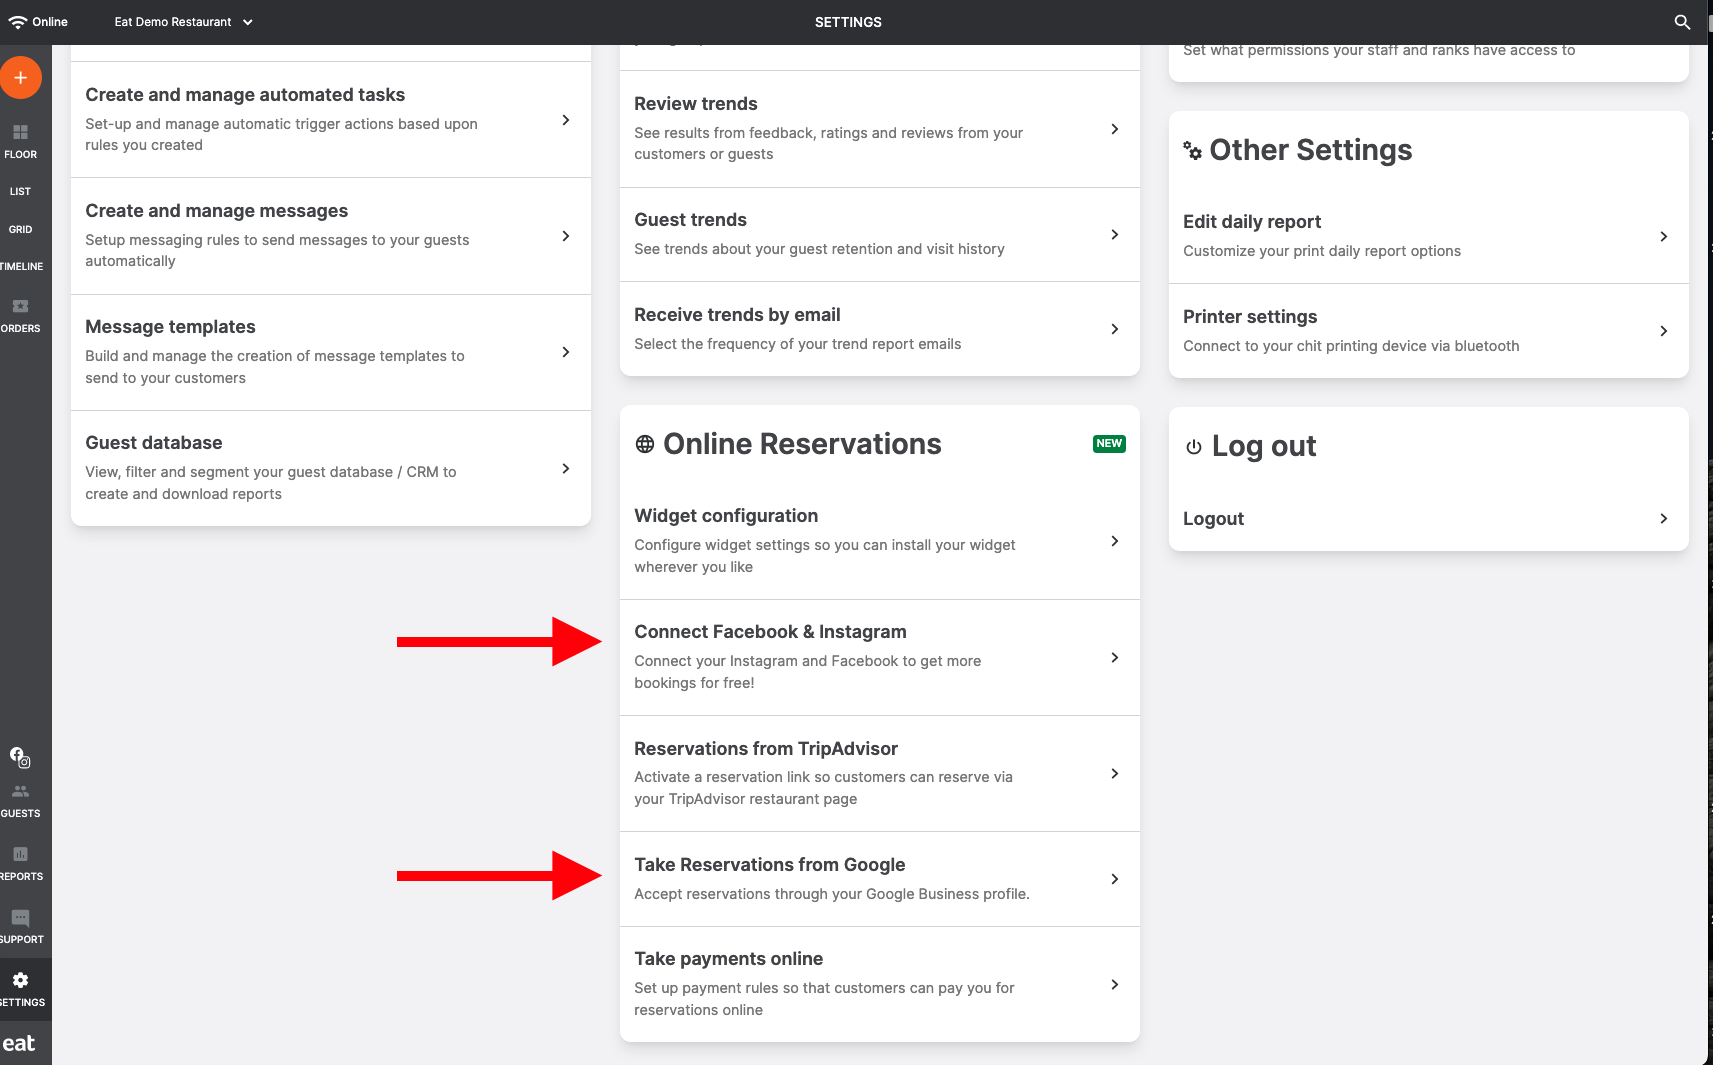
Follow the instructions on the following pages to instantly activate your booking widget across Google, Facebook and Instagram.
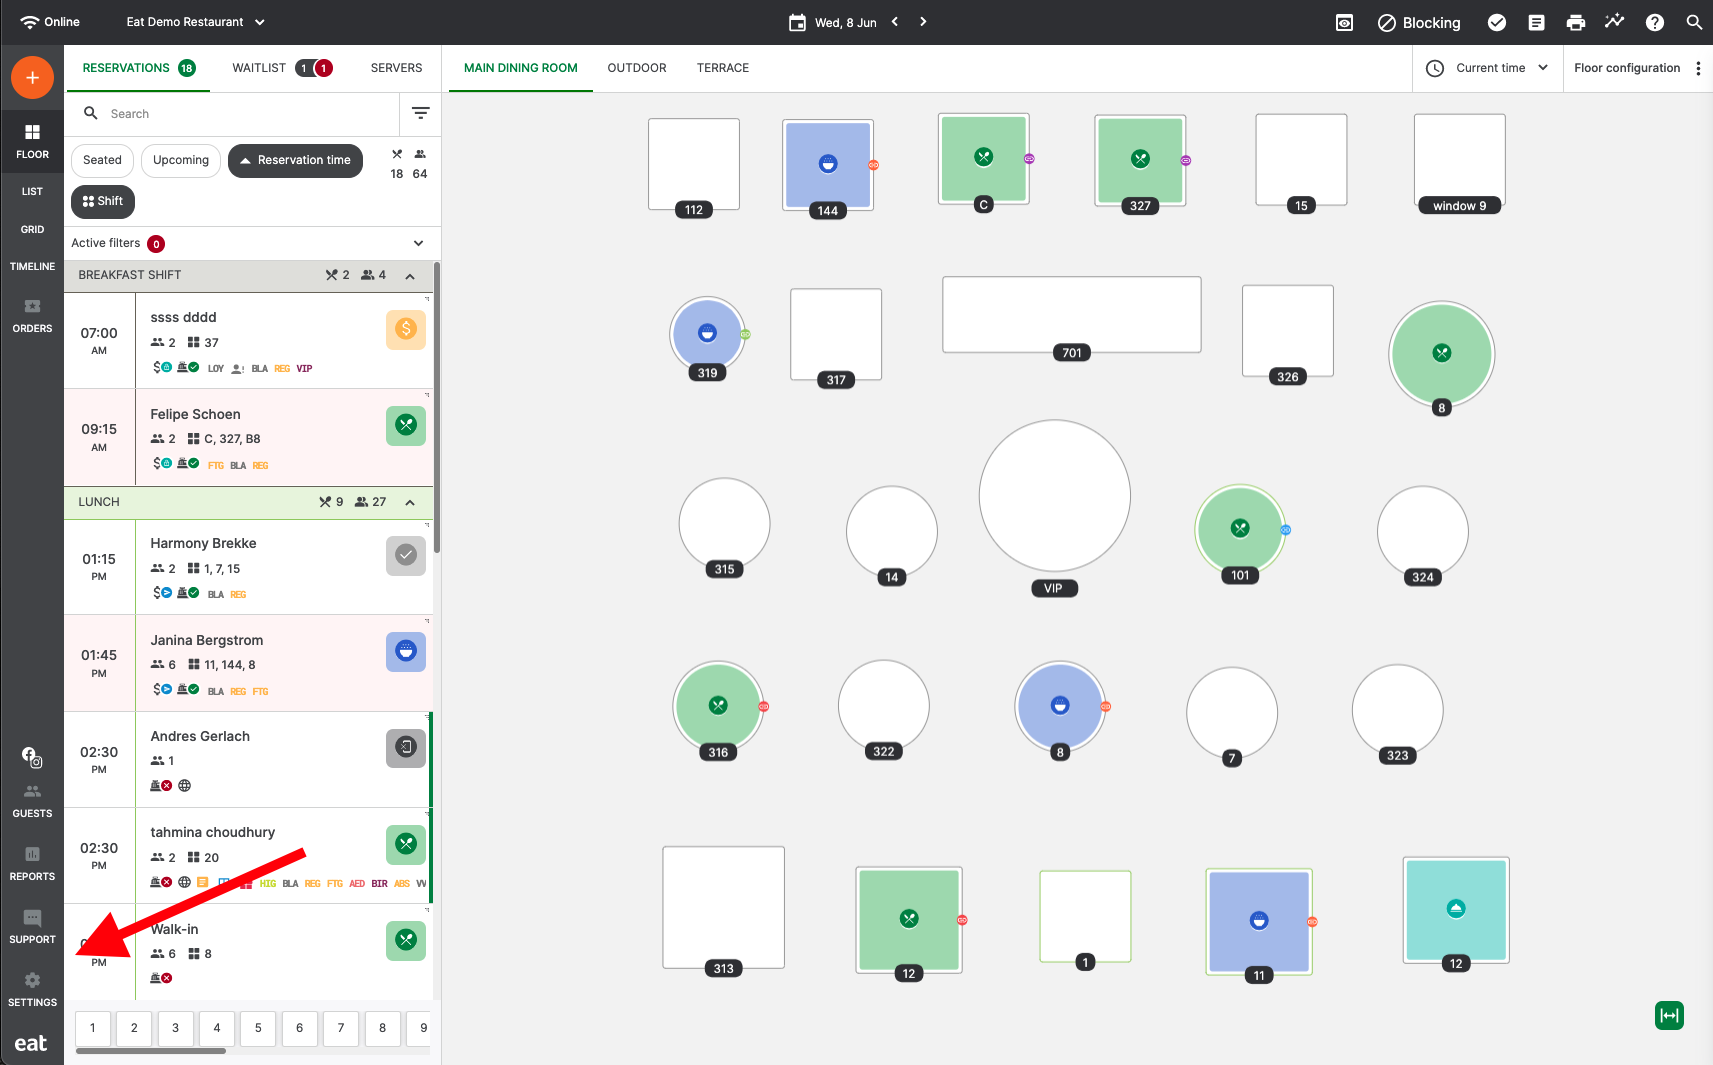
How to manage reservations on-the-fly
Managing your reservations with Eat App is super straightforward. We provide restaurants with the option to manage their reservations directly from the web at app.eatapp.co.
Alternatively, if you are anything like most restaurant operators - you are on your feet most of the day with limited access to a computer. In situations like these, you can use Eat App's mobile apps to manage your reservations on-the-fly.


How to message your guests
Part of the plan provided to Wix partners using Eat App includes free automatic reservation emails. These are automatically triggered when a guest makes a reservation, their reservation is confirmed or any other status change along the diner's journey.
To be able to customize your emails or send out SMS's to your guests, you will need to upgrade to one of Eat App's paid plans. To learn more about about Eat App's other packages check out Eat App's pricing page.
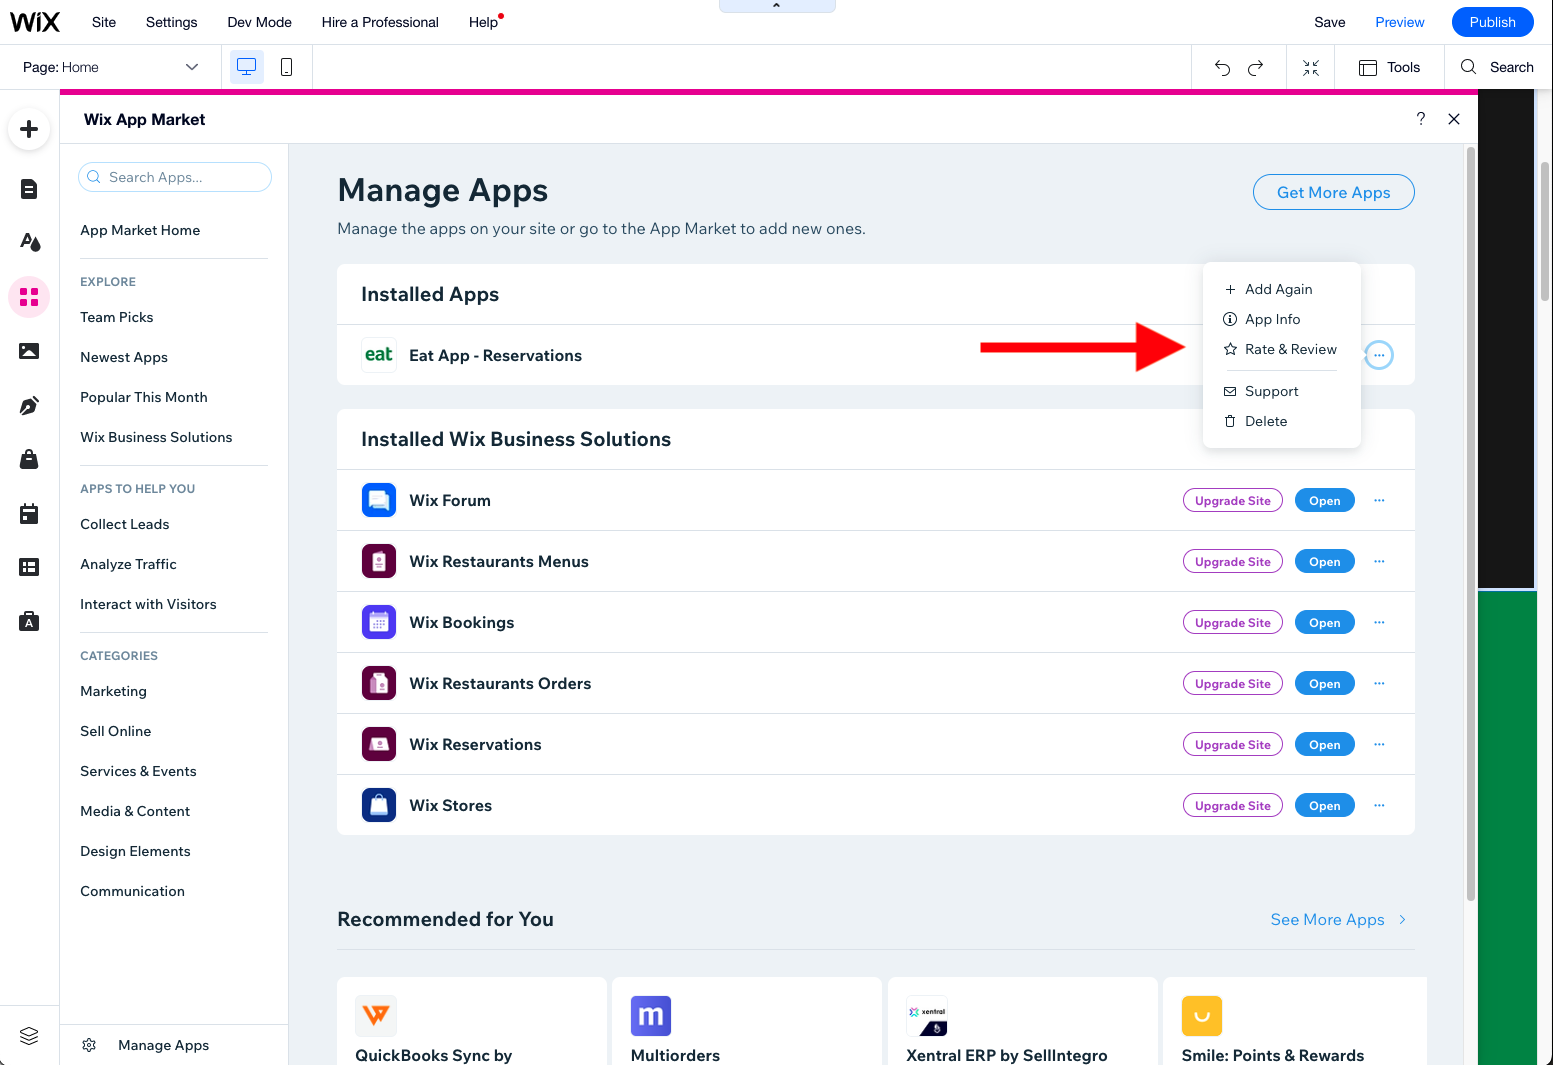
How to uninstall your Eat App booking widget from your Wix website
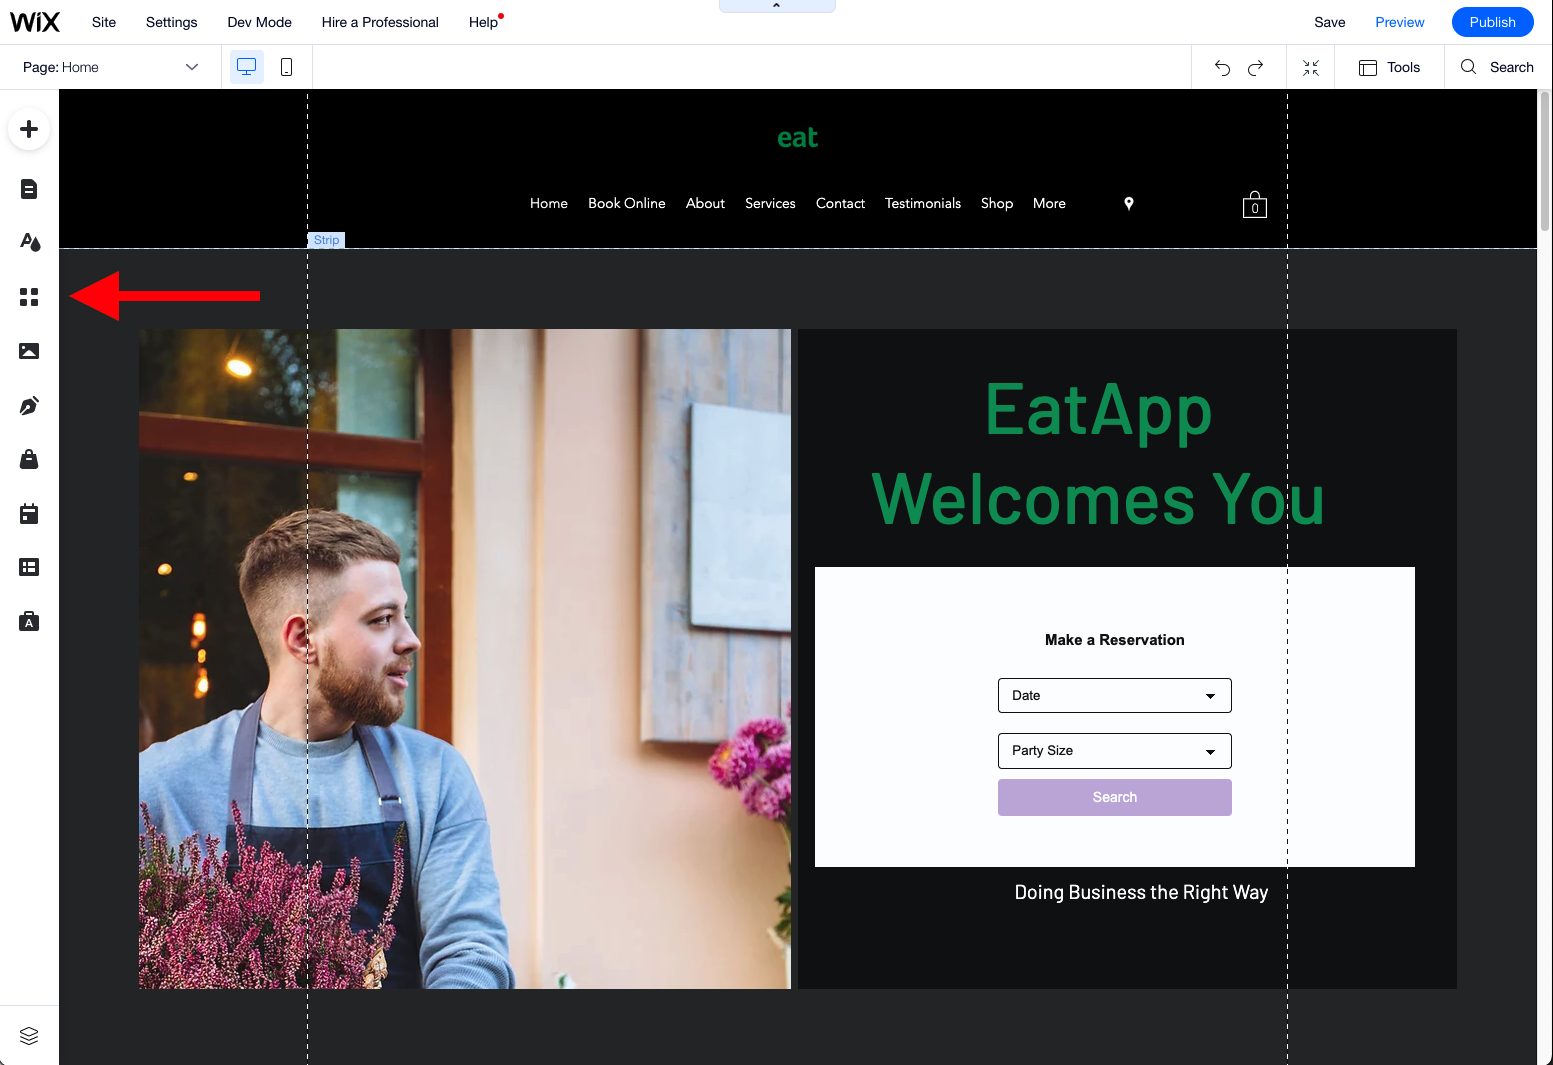
To uninstall your Eat App booking widget from your Wix website for whatever reason, click on "Add Apps" from the left hand sidebar of your Wix website editor.
Then click "Manage apps" on the bottom left.
Finally, click the three dots next to Eat App and click "Delete"