What the assistant can (and can't) do
✅ The assistant can read your restaurant information:
- Reservations and bookings
- Guests and their details
- Reviews
- Reports and summaries
🔒 The assistant is read-only. It can look at your data and answer questions, but it can never change anything — it can't edit a booking, delete a guest, or send a message. Your data stays exactly as it is.
Before you start
You'll need:
- Your EatApp login (the same email and password you use to sign in to EatApp).
- An Active Table Management subscription.
- An account with the AI assistant you want to use — Claude.ai, ChatGPT, or any AI assistant of your choice.
Note: Connecting a custom assistant may require a paid plan on Claude or ChatGPT. If you don't see the "connectors" option described below, your current plan may not include it yet.
Step 1 — Choose what to connect: one restaurant or all of them
In EatApp, open the MCP Servers page and find the Restaurant MCP section. You'll see two links:
| Option | When to use it |
|---|---|
| This restaurant only | You want the assistant to see just this one location. |
| All my restaurants | You manage several locations and want the assistant to see all of them. You can then ask about any one of them by name. |
Pick the option that fits you and click Copy next to it. That copies the link you'll need in the next step.

The link will look something like this:
- All my restaurants:
https://api.eatapp.co/mcp/restaurants - This restaurant only:
https://api.eatapp.co/mcp/restaurants/your-restaurant-id
Tip: Always copy the link straight from the page using the Copy button — that way you know it's exactly right for your account.
Step 2 — Add the link to your AI assistant
Now paste that link into your assistant. Find your assistant below and follow its steps.
The exact wording of menus can change from time to time. If a button is named slightly differently, look for the closest match (usually something like "Connectors", "Add app", or "MCP").
Example — Claude.ai (in your web browser)
- Go to claude.ai and sign in.
- Click your name/initials in the bottom-left corner, then open Settings.
- Open the Connectors tab.
- Click Add custom connector.
- Paste the link you copied from EatApp into the URL box.
- Give it a friendly name, like "EatApp – My Restaurant", and click Add.


Step 3 — Sign in and allow access
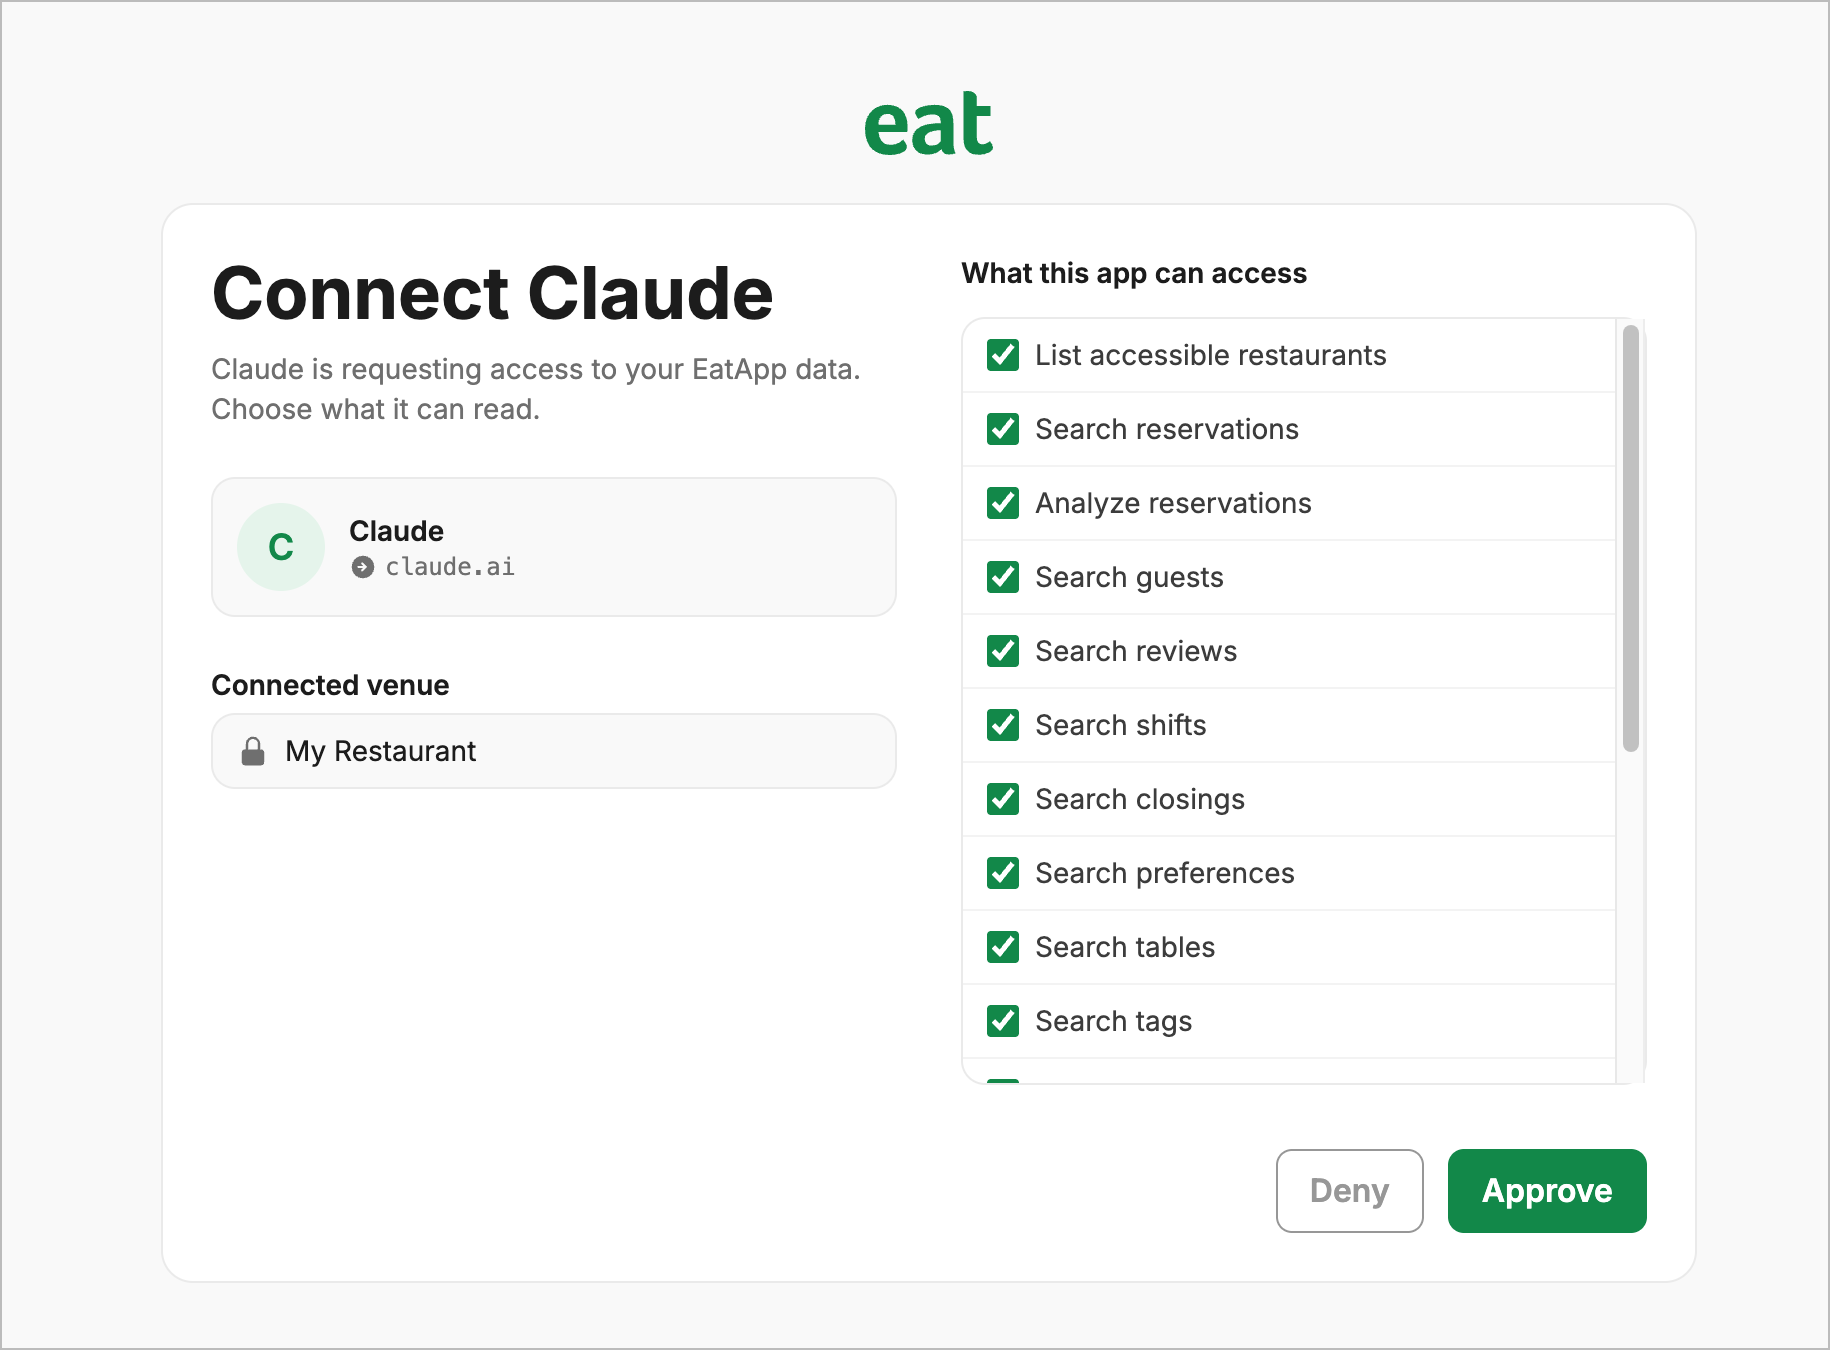
The first time you connect, the assistant will open an EatApp sign-in page.
- Sign in with your usual EatApp email and password.
- You'll see a screen listing what the assistant will be allowed to read (reservations, guests, reviews, and reports).
- Click Allow (or Approve) to finish.
That's it — you're connected. You only have to do this once.
Step 4 — Start asking questions
Open a new chat with your assistant and ask away. A few ideas to get started:
- "How many reservations do we have today, and for how many covers?"
- "Who are our VIP guests coming in this weekend?"
- "What's our cancellation rate this month?"
- "Summarise our most recent reviews."

If you connected "All my restaurants"
When you connect with the All my restaurants link, the assistant can see every location you manage. Just mention the restaurant by name in your question:
- "Show tonight's bookings for Marina Branch."
- "Compare this week's covers between Downtown and Marina Branch."
If you're not sure which locations are connected, just ask: "Which restaurants can you see?"